In today’s digital age, having an online presence for your business is essential. Shopify is a popular e-commerce platform that allows you to set up and manage your online store with ease. If you already have a website and want to integrate Shopify into it, you’re in the right place. In this comprehensive guide, we’ll walk you through the process of adding Shopify to your website. Whether you’re a tech-savvy entrepreneur or a novice, this step-by-step tutorial will help you seamlessly incorporate Shopify into your existing website.
Table of Contents
- Introduction
- Why Choose Shopify?
- Preparing Your Website
- Signing Up for Shopify
- Setting Up Your Shopify Store
- Choosing a Plan
- Selecting a Domain Name
- Customizing Your Store’s Design
- Adding Products to Your Store
- Configuring Payment and Shipping Settings
- Managing Inventory
- Launching Your Shopify Store
- Integrating Shopify with Your Website
- Embedding Shopify Widgets
- Using Shopify Buy Buttons
- Creating Custom Landing Pages
- Testing Your Integration
- Optimizing for SEO
- SEO-Friendly Product Descriptions
- Optimizing Images
- Implementing Schema Markup
- Promoting Your Online Store
- Social Media Marketing
- Email Marketing
- Paid Advertising
- Analyzing Your Website Traffic
- Google Analytics
- Shopify Analytics
- Troubleshooting Common Issues
- Conclusion
1. Introduction
In this digital era, a strong online presence is crucial for businesses to succeed. Adding Shopify to your existing website can significantly enhance your e-commerce capabilities and help you reach a broader audience.
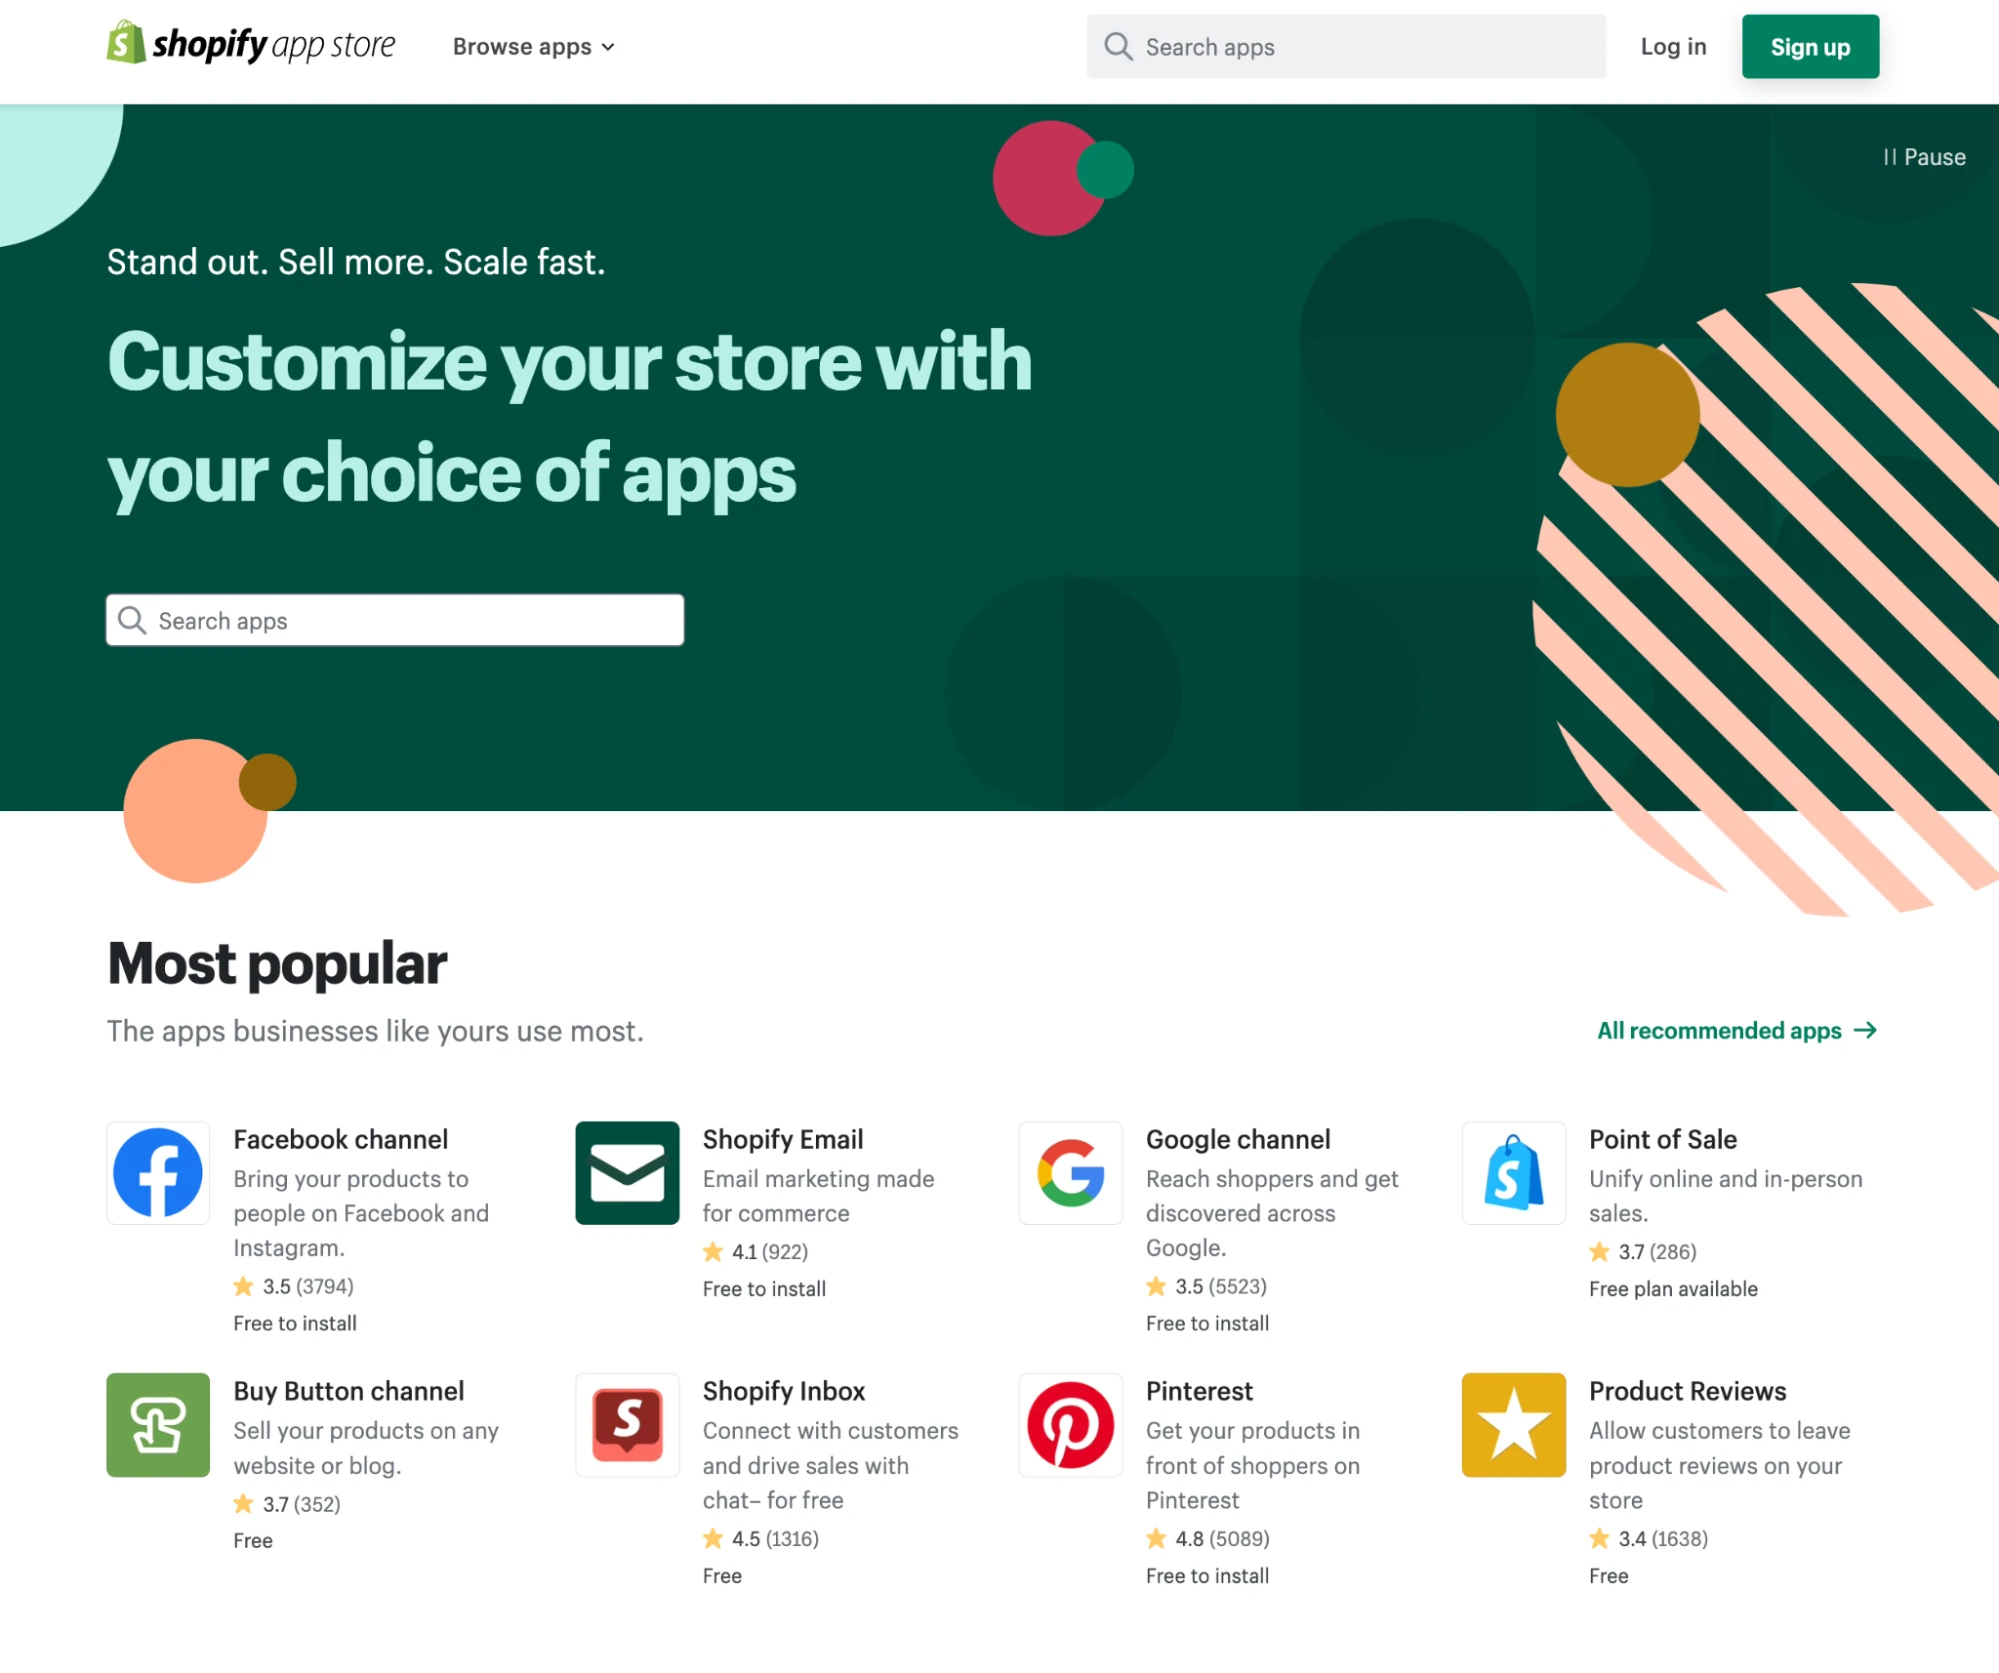
2. Why Choose Shopify?
Before we dive into the integration process, let’s explore why Shopify is an excellent choice for your online store. Shopify offers user-friendly features, a wide range of customizable templates, and a secure payment system that can simplify the online shopping experience for your customers.
3. Preparing Your Website
Before integrating Shopify, ensure that your website is ready for the transformation. Update your content, design, and branding to create a seamless transition between your website and your new Shopify store.
4. Signing Up for Shopify
To get started, sign up for a Shopify account. You can choose from various pricing plans to suit your business needs.
5. Setting Up Your Shopify Store
Now, let’s create your Shopify store step by step.
Choosing a Plan
Select a pricing plan that aligns with your budget and requirements. Shopify offers a range of plans, from basic to advanced, to cater to businesses of all sizes.
Selecting a Domain Name
Choose a unique domain name that represents your brand. You can either buy a new domain through Shopify or connect an existing one.
Customizing Your Store’s Design
Personalize your Shopify store by selecting a template and customizing it to match your brand’s aesthetics.
6. Adding Products to Your Store
Once your store is set up, start adding products to your inventory. Use high-quality images and write compelling product descriptions to attract customers.
7. Configuring Payment and Shipping Settings
Configure your payment and shipping settings to ensure smooth transactions and deliveries.
8. Managing Inventory
Keep track of your inventory using Shopify’s inventory management tools to avoid running out of stock.
9. Launching Your Shopify Store
When everything is ready, launch your Shopify store to the public.
10. Integrating Shopify with Your Website
Now comes the crucial part—integrating Shopify with your existing website.
Embedding Shopify Widgets
You can embed Shopify widgets into your website to showcase products and enable a seamless shopping experience.
Using Shopify Buy Buttons
Create Buy Buttons for specific products and place them strategically on your website.
Creating Custom Landing Pages
Design custom landing pages to highlight your products or special promotions.
11. Testing Your Integration
Before going live, thoroughly test the integration to ensure it works smoothly.
12. Optimizing for SEO
Enhance your Shopify store’s visibility in search engines with these SEO tips.
SEO-Friendly Product Descriptions
Write product descriptions with relevant keywords to improve search engine rankings.
Optimizing Images
Compress and optimize images to reduce page loading times.
Implementing Schema Markup
Implement schema markup to provide search engines with structured information about your products.
13. Promoting Your Online Store
After integration, it’s time to promote your online store.
Social Media Marketing
Leverage social media platforms to connect with your audience and drive traffic to your Shopify store.
Email Marketing
Create email marketing campaigns to engage with your customers and encourage repeat purchases.
Paid Advertising
Consider paid advertising options like Google Ads or Facebook Ads to boost your store’s visibility.
14. Analyzing Your Website Traffic
Track and analyze your website traffic to gain insights into your customers’ behavior.
Google Analytics
Set up Google Analytics to monitor user activity on your site.
Shopify Analytics
Utilize Shopify’s built-in analytics tools to track sales and customer data.
15. Troubleshooting Common Issues
Address common integration issues like broken links or display problems promptly.
16. Conclusion
Congratulations! You’ve successfully added Shopify to your website. With the right strategy and marketing efforts, your online store is poised for success.